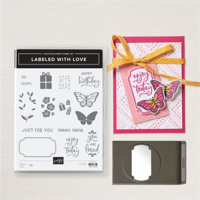

Today, I have another version of a Labeled with Love creation! This time, I decided to give my background layer a really quick water coloring technique.
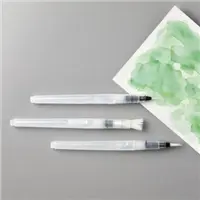
This technique is nothing more than using horizontal strokes across the card stock layer with your Water Painter. You could use watercolor paper (Fluid 100) but I just used Basic White card stock.
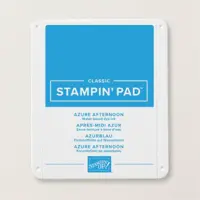
You already have the ink pad so the only other thing needed would be a Water Painter (or a paint brush would be fine)! A watercoloring technique is a great reason to take out the accessory pack to the Glass Mat Studio. My glass mat stays on my desk, but this little rubber pad comes out anytime I am doing any kind of technique. The other accessory is the cleaning cloth… makes for an easy clean up with this rubbery cloth.
Fill one of the small squares on the rubber mat with a few drops of ink and fill the large square with a few drops of water. The barrel in your Water Painter already should be filled with water so you can release as much water into the ink as desired by squeezing the barrel.
I keep water in the large square to rinse off my brush as soon as I am done watercoloring… keep dipping until the brush runs clear.

This Labeled With Love bundle can be purchased either as a punch bundle or a die bundle. You can choose which one works best for you.

Here’s the quick step-by-step…
- Punch (or die cut) two label shapes from both ends of the card stock layer and one from a Basic White scrap
- Place the layer over the card base and make a small pencil mark indicating the opening to be stamped in both negative spaces
- Watercolor the cropped layer as noted above and set aside to let dry
- Stamp the negative spaces with the gift box images
- Stamp the die cut with the gift box images
- Stamp one extra gift box image on a piece of Basic White scrap and fussy cut around image
- Stamp the sentiment onto a scrap of Basic White card stock and trim around words
- When water colored layer is dry, adhere to the card base layer
- Adhere the stamped die cut in between the two negative spaces
- Adhere the fussy cut gift box image to the center of the stamped die cut
- Adhere the sentiment tag to the right of the stamped die cut
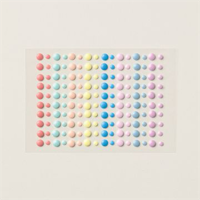
- Add a few Rainbow Adhesive-backed dots to the card front
Here are the quick measurements for this project:
- Basic White (Thick) CS: 11″ x 4 1/4″ and scored at 5 1/2″
- Basic White CS: 5 1/4″ x 4″

I hope you liked this project showcasing a few of the fabulous new products from the 2024-25 Annual Catalog!

I finally have my Tutorial Shop back up and running! Check out all the tutorial packs in my library! Now I can offer an Instant Download for all of my 2024 & 2023 Tutorial Packs!
Click here for some FAQ about my Tutorial Shop!
August ’24 Host Code -NDSUUR2G
Use this code on any order under $150. If your order is over $150, you will receive your own (10%) Stampin’ Rewards! You will be prompted to enter your FREE products at checkout.
Any order ($50+) you place with me this month, you will receive a FREE gift and a handmade card as a thank you from me! (If your order is under $50, you will still receive a handmade card from me as a thank you for your order)!

LOLLY POP PAPER AND INK RESOURCES
HOW TO EARN FREE PRODUCTS … with the LollyPop Rewards Program!
(ALMOST) WEEKLY EMAIL INSPIRATION… subscribe to my email list
THE $99 ULTIMATE BUNDLE… join the fun!
SHOP MY STORE… shop online 24/7!
My project supply list! Click products to shop online!


