
This non-traditional
This non-traditional colored holiday card works well with the (plaid) die I chose from the Decorative Trees bundle and matched it with the new plaid embossing folder called Forever Plaid 3D Embossing Folder!


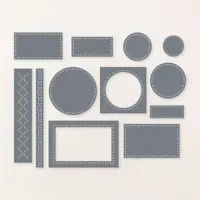
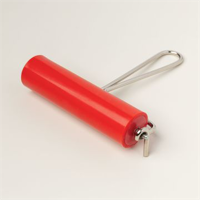
I also used the frame die from the Everyday Details Dies and embossed it with the Forever Plaid 3D Embossing Folder. After embossing the die cut, I used my Stampin’ Brayer to add a light cover of color to the raised card stock areas.

I don’t think I’ve ever used the color Azure Afternoon for a Christmas card, but will say that I really like how this one turned out. The simple die cut image makes for a pretty but classic focal image for this card front.
Here are the measurements for this project…
- Basic White (thick) CS: 11″ x 4 1/4″ and scored at 5 1/2″
- Azure Afternoon CS: 5 1/4″ x 4″
- Basic White CS: 5″ x 3 3/4″
Here is the quick step-by-step…
- Adhere the Azure Afternoon Layer to the card base
- Crop the Basic White layer with the frame die from the Everyday Details Dies
- Emboss the same layer with the Forever Plain 3D Embossing Folder
- Using your Stampin’ Brayer, apply a very light coat of color to the raised parts of the layer
- Crop the ‘plaid’ die from the Decorative Trees Dies from Basic White scrap
- Adhere the die cut to the center of the card stock layer
- Adhere the framed die cut layer to the card front using Foam Adhesive Strips
- Stamp the sentiment in Azure Afternoon ink and fussy cut around sentiment
- Adhere the sentiment to the lower corner of the die cut frame
- Add a few Iridescent Pearls to the card front
I hope you liked today’s project showcasing one of the fabulous new products from the newly released Sept – Dec ’24 Mini Catalog!
Be sure to check out the full line of ONLINE EXCLUSIVES…


