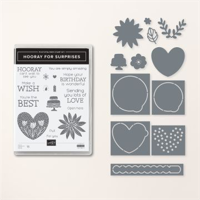

Welcome to our first project in this week’s NEW PRODUCT SHOWCASE – HOORAY FOR SURPRISES BUNDLE from the new JAN – APR ’24 MINI CATALOG!

This week, it’s all about this fantastic HOORAY FOR SURPRISES BUNDLE. The biggest SURPRISE with this bundle are the dies, which make these fun little tear-away elements so that the sentiment can be hidden until the recipient ‘pulls’ or ‘opens here’ for the big reveal!
The Hooray For Surprises bundle can be found on page 13 of the Jan – Apr 2024 Mini Catalog!

I am loving the sentiments included… which can definitely be used for several special occasions!

This was my first project from the set and I have to say that now that I figured out the process, I am looking forward to making more!

Here are the measurements for this project:
- Basic White (Thick) CS: 8 1/2″ x 5 1/2″ scored at 4 1/4″
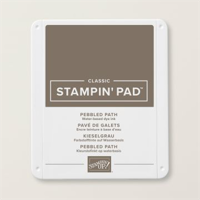
- Pebbled Path CS: 5 1/4″ x 4″, 3 1/4″ x 3 1/4″
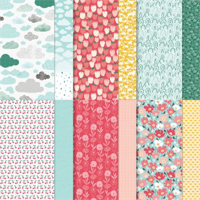
- Sunny Days (SAB) DSP: 5″ x 3 3/4″
- Basic White CS: 3″ x 3″ (2x), 2 7/8″ x 2 7/8″ (1x)
Here is the step-by-step for this project:
- Trim all layers as noted above
- Below are the separate instructions for using one of the perforated dies…
- Step 1 – Stamp the floral heart image in Pool Party ink on one of the 3″ x 3″ squares
- Step 2 – Run both (at the same time) 3″ x 3″ squares through the Stampin’ Cut & Emboss Machine with the heart die that has the side tab
- Step 3 – Pull out the center heart of one of the layers and put aside to use as a template for centering the sentiment
- Step 4 – Stamp the sentiment on the 2 7/8″ x 2 7/8″ layer using the template to center the sentiment
- Step 4 – Adhere the sentiment layer to the Pebbled Path square layer
- Step 5 – Adhere the stamped focal image (heart with perforated pull tab) over the sentiment layer
- Step 6 – Stamp the small ‘pull’ sentiment in Pebbled Path ink and trim very close to word
- Step 7 – Use a glue dot or liquid glue to adhere the ‘pull’ tab to the small oval tab in the die cut (this just makes it easier for the recipient to actually pull the perforated area)
- Adhere the DSP layer to the Pebbled Path layer
- Run a strip of the Pool Party Ribbon around the layers and adhere to the back of the layers
- Adhere layers to card base
- Adhere the focal image panels over the ribbon with dimensionals
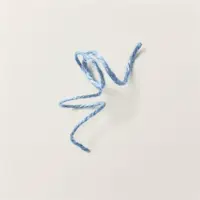
- Tie a bow around the ribbon with the Pebbled Path In Color Jute Trim
- Add a few Opaque Faceted Gems to the card front (Sale-A-Bration Item)

I hope you liked today’s project from this new Hooray for Surprises Bundle! Come back during the week to see a few more projects I created with this product. Thanks so much for visiting my blog today and have a wonderful day!
Have you checked out the new January- April ’24 Mini Catalog and the new Sale-A-Bration Freebies? You can SHOP & EARN all during the months of January and February!
CLICK HERE FOR THE DIGITAL VERSION OF THE MINI CATALOG!
CLICK HERE FOR THE DIGITAL VERSION OF THE SAB CATALOG!
I finally have my Tutorial Shop back up and running! Now I can offer an Instant Download for all of my 2024 & 2023 Tutorial Packs! Click here for some FAQ about my Tutorial Shop!
January ’24 Host Code
Use this code on any order under $150. If your order is over $150, you will receive your own (10%) Stampin’ Rewards! You will be prompted to enter your FREE products at checkout.
Any order ($50+) you place with me this month, you will receive a FREE gift and a handmade card as a thank you from me! (If your order is under $50, you will still receive a handmade card from me as a thank you for your order)!


LOLLY POP PAPER AND INK RESOURCES
HOW TO EARN FREE PRODUCTS … with the LollyPop Rewards Program!
(ALMOST) WEEKLY EMAIL INSPIRATION… subscribe to my email list
THE $99 ULTIMATE BUNDLE… join the fun!
SHOP MY STORE… shop online 24/7!
RETIRED PRODUCTS STORE… Shop my retired products at big discounts!
My project supply list. Click to shop products online.


