

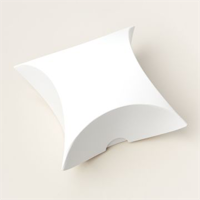
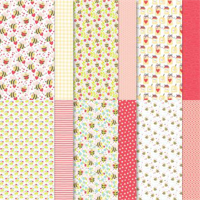
I love these new square pillow boxes and have seen people decorate them beautifully by using their blending brushes to color the entire box or stamp directly on the box. I have also seen some cover them with our beautiful designer series paper, which is what I wanted to do as soon as I saw these boxes.
But, I have to say… I think they overcomplicated the process. I did not want to be tracing, measuring, using a compass or anything else that delayed me actually decorating, filling and sending these adorable Valentine treat boxes to my littles!
My alternative idea was to just cut one of the boxes and use it as a template! I think it was well worth the sacrificing of one (out of ten) boxes!


The first thing I did was to trace around the circle. Use the circle that does not have the adhesive panels on it. Then cut around the circle. You can disregard the black marker lines you see below. I thought I needed to highlight the score lines, but it was not necessary.

The next thing I did was to trace around the circle right onto the DSP. Then just trim around trace lines. Remember to notch out the little opening for easy access to your treats.
Using liquid glue, be sure to get as close to the edge of the trimmed DSP with the adhesive and then add some to the center of each panel.
Cover the circle with the DSP and use your fingers to press down on each of the score lines. It falls totally into place and stays there!

Now it’s time to decorate! 🙂
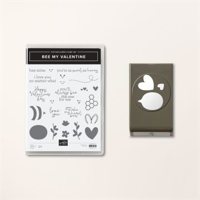
Of course, the Bee My Valentine bundle was perfect for these treat boxes and I had plenty of bees, hearts and sentiments cropped and ready to roll from some of my previous projects.

I added some snack size Hershey bars (you could fit 3 or 4 easily). Or, since they are food-safe, you could just add some loose candy or baked item for a yummy treat that would be a perfect send-off any time of year!
Some Tips For You With The Bee My Valentine Bundle…
- I stamped and punched several (many actually 🙂 ) bumble bee body parts on a 2″ strip of Basic White CS in different colors for easy access in anticipation of making a lot of these adorable cards. It was a big time saver!
- Did you know that the little antennae image can be cropped perfectly with the small heart cut-out on the punch?!!
- I ran a few pieces of CS through the small heart cut-out on the punch and then put each on a strip of glue dots so they were ready to roll whenever I was!
I hope you liked today’s projects! Thanks so much for visiting my blog today and have a wonderful day!
Have you checked out the new January- April ’24 Mini Catalog and the new Sale-A-Bration Freebies? You can SHOP & EARN all during the months of January and February!
CLICK HERE FOR THE DIGITAL VERSION OF THE MINI CATALOG!
CLICK HERE FOR THE DIGITAL VERSION OF THE SAB CATALOG!
I finally have my Tutorial Shop back up and running! Now I can offer an Instant Download for all of my 2024 & 2023 Tutorial Packs! Click here for some FAQ about my Tutorial Shop!

Check out my Tutorial Shop (by clicking below) for this and more 2023 & 24 tutorial packs just added that are available for instant download.
January ’24 Host Code
Use this code on any order under $150. If your order is over $150, you will receive your own (10%) Stampin’ Rewards! You will be prompted to enter your FREE products at checkout.
Any order ($50+) you place with me this month, you will receive a FREE gift and a handmade card as a thank you from me! (If your order is under $50, you will still receive a handmade card from me as a thank you for your order)!


LOLLY POP PAPER AND INK RESOURCES
HOW TO EARN FREE PRODUCTS … with the LollyPop Rewards Program!
(ALMOST) WEEKLY EMAIL INSPIRATION… subscribe to my email list
THE $99 ULTIMATE BUNDLE… join the fun!
SHOP MY STORE… shop online 24/7!
RETIRED PRODUCTS STORE… Shop my retired products at big discounts!
My project supply list. Click to shop products online.


Thank you for giving the instructions for making these cute little boxes!
Thank you so much for these tips! I was struggling to get the nice, polished finish that everyone was getting. Mine looked like a 3 year old had tried to do it lol And thanks for the tip about the antennae using the punch. Those little things are hard to fussy cut. I usually lop one of the antennas off during the cutting. lol
You’re very welcome! Enjoy!