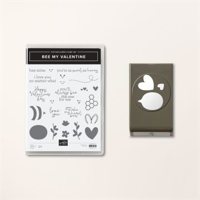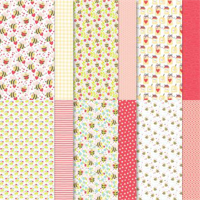

Welcome to my final PRODUCT SHOWCASE – BEE MY VALENTINE from the new JAN – APR ’24 MINI CATALOG!
This week, it’s all about this adorable BEE MY VALENTINE BUNDLE!

Today, we are returning to the adorable By My Valentine bundle, which is from the Bee Mine Suite Collection. You can find this suite of products on pages 8-10 of the new Mini!


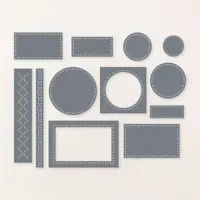
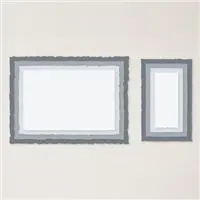
I do love the new Everyday Details Dies and have integrated them into many of my Bee Mine projects! I cropped out several shapes to have ready and waiting for when I need them.

Here are the measurements for this project:
- Basic White (Thick) CS: 8 1/2” x 5 1/2” and score at 4 1/4”
- Petal Pink CS: 5 1/4” x 4”
- DSP: (2) Saved die cuts from previous projects (Bee Mine) and also the additional project (You’re As Sweet As Honey) shown below

Here is the step-by-step for this project:
- Trim all layers as noted above
- Stamp the flower image randomly onto Petal Pink CS with the Petal Pink ink
- Adhere the saved die cut (Bee Mine project – bumble bee/floral) to the left side of the card front
- Adhere the saved die cut (Sweet As Honey project – honeycomb – see photo below) to the right side of card front using dimensionals
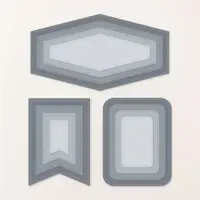
- Crop a smaller stitched shape from the Nested Essentials Dies with a Basic White scrap
- Stamp the sentiment on the lower left portion of cropped tag and attach to larger DSP label (honeycomb print)
- Stamp and punch out the bee image (I added two tiny dots to either side of the mouth to mimic the bee in the DSP) and adhere to upper right portion of sentiment tag
- Punch one small heart using the Bee Builder Punch and adhere to sentiment tag

Some Tips For You:
- I stamped and punched several (many actually 🙂 ) bumble bee body parts on a 2″ strip of Basic White CS in different colors for easy access in anticipation of making a lot of these adorable cards. It was a big time saver!
- Did you know that the little antennae image can be cropped perfectly with the small heart cut-out on the punch?!!
- I ran a few pieces of CS through the small heart cut-out on the punch and then put each on a strip of glue dots so they were ready to roll whenever I was!
Here is a second project I created with this adorable bundle! Enjoy!
Note: Before adhering the DSP layer to the card base, I cropped a rectangle from the Nested Essentials Dies and put the die cut aside for use in the project above.


I hope you liked today’s projects! Thanks so much for visiting my blog today and have a wonderful day!
Have you checked out the new January- April ’24 Mini Catalog and the new Sale-A-Bration Freebies? You can SHOP & EARN all during the months of January and February!
CLICK HERE FOR THE DIGITAL VERSION OF THE MINI CATALOG!
CLICK HERE FOR THE DIGITAL VERSION OF THE SAB CATALOG!
I finally have my Tutorial Shop back up and running! Now I can offer an Instant Download for all of my 2024 & 2023 Tutorial Packs! Click here for some FAQ about my Tutorial Shop!

Today’s project is one of the tutorials that can be found in the Bee My Valentine Tutorial Pack! Six (6) projects total! Check out my Tutorial Shop (by clicking below) for this and more 2023 & 24 tutorial packs just added that are available for instant download.
January ’24 Host Code
Use this code on any order under $150. If your order is over $150, you will receive your own (10%) Stampin’ Rewards! You will be prompted to enter your FREE products at checkout.
Any order ($50+) you place with me this month, you will receive a FREE gift and a handmade card as a thank you from me! (If your order is under $50, you will still receive a handmade card from me as a thank you for your order)!


LOLLY POP PAPER AND INK RESOURCES
HOW TO EARN FREE PRODUCTS … with the LollyPop Rewards Program!
(ALMOST) WEEKLY EMAIL INSPIRATION… subscribe to my email list
THE $99 ULTIMATE BUNDLE… join the fun!
SHOP MY STORE… shop online 24/7!
RETIRED PRODUCTS STORE… Shop my retired products at big discounts!
My project supply list. Click to shop products online.


