
If you follow me on Facebook (LollyPop Paper and Ink), you may notice that very often I share a Technique Tuesday post from the Stampin’ Up! Facebook Page. These artisans blow me away with their talent and I love to try many of these techniques out myself!
That is how my ‘Tried It!‘ projects came to be!
This project was called ‘Partial Embossing with Matting Layers’. This was the finished project by Stampin’ Up! Artisan Design Team Member, Mikaela Titheridge…

The idea of this technique is to partially emboss the layer leaving negative space for your focal image. It just involves making a few matting layers by die cutting them with your favorite oval, circle, square… or any shape and running both the matting layers and the embossing folder (with the card stock inside) through the Cut & Emboss Machine.
Be sure to save your matting layers for your next Partial Emboss project!
Let’s take it step-by-step.
- Cut two pieces of thin cardboard to the size of your card front. (Full Disclosure: I had to cut three pieces because I used the back piece of the cardboard included in our 12″ x 12″ DSP packs… and apparently, they were a little too thin!)

- Die cut your favorite shape from both (all three) pieces of cardboard. I used the oval from the Framed Florets Dies.

- Once you die cut the first one, use that as the template for the next ones to be sure they are all in the same spot.

- Adhere the two (three) cardboard pieces together. Note that it will only emboss where the cardboard sits… not the die cut area.
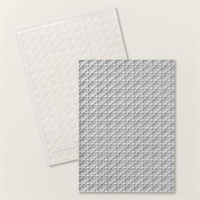
- Tape the matting layers to the front of the embossing folder and run it through the Cut & Emboss Machine with the base plate and 1 cutting plate* (I used the new Cane Weave 3D Embossing Folder).

*Using this sandwich position is crucial to the embossing technique. As you can see from below… I did not read the instructions carefully and this was my first outcome! 😀
You can see from the top layer that the embossing did make it’s way through the negative oval space and once I changed the plates… perfection!

There you have it! I Tried It! and it was a success! I hope you will give it a try also!
Here are the measurements for this project…
- Basic White (thick) CS: 8 1/2″ x 5 1/2″ and scored at 4 1/4″
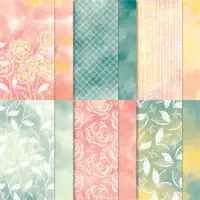
- Hello Irresistible DSP: 5 1/4″ x 4″
- Basic White (embossed) CS: 5″ x 3 3/4″
Now for the design part…
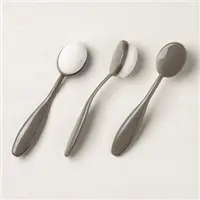
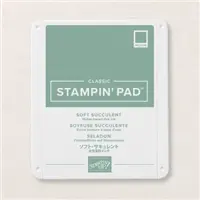
- Add a little Soft Succulent ink using a Blending Brush to the center (un-embossed) area of the layer
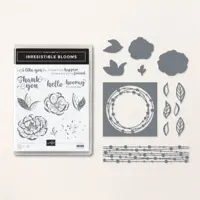
- Using the Irresistible Blooms Dies, crop the flower and leaves directly from the Hello Irresistible 6″ x 6″ DSP
- Stamp the sentiment in Soft Succulent ink onto Basic White scrap
- Trim around sentiment
- Adhere the leaves to the card front
- Adhere the flower to the card front using Dimensionals.
- Add a double bow made from Bakers Twine Essential Pack
- Add a few embellishments
Cool Tip!
I purchased the new ‘Elegant Borders Dies’ from the newly released Online Exclusives (read more about that below) and decided to fancy-up my envelope for this project by die cutting the flap. Such an easy way to add that special touch.

I hope you liked todays Tried It! project! It was so easy and opens up limitless design ideas! I hope you will give it a try sometime!
Don’t forget about the new products that are now available in the latest Online Exclusives release! You will not find these items (some brand new and some returning favorites) in any of our current catalogs! To learn more about the new releases that will be ongoing throughout the year, check out my blog post HERE!
To shop our Online Exclusives, it’s as simple as going to my online store and clicking ‘Online Exclusives’!

Check out the current catalogs below!


[sig]
My project list below. Click product to shop online.


