

This card was one of the projects I created for my Friday Fun with SAB Freebies series last week, so it may look a little familiar! You can see the video HERE if you missed it!
I was just so pleased with how this project came out that I wanted to share it with a step-by-step tutorial this time.
Here are the supplies needed for this project:
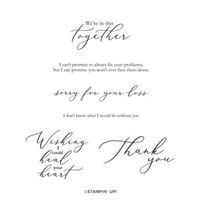
- Heal Your Heart Stamp Set
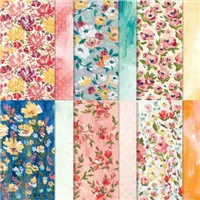
- Fine Art Floral DSP
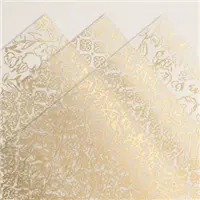
- Golden Garden Designer Specialty Acetate
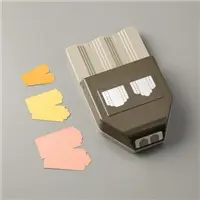
- Lovely Labels Pick A Punch
- Petal Pink CS
- Basic White & Thick Basic White CS
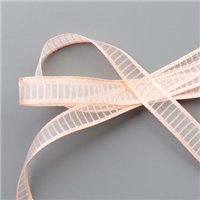
- Petal Pink Organdy Ribbon
- Petal Pink ink
Here are the measurements:
- Thick Basic White CS: 11 x 4 1/4 scored at 5 1/2
- Petal Pink CS: 5 1/4 x 4
- DSP: 5 x 3 3/4
- Acetate: 5 3 3/4
Here’s the step-by-step:
- Trim CS and DSP as indicated above
- Adhere Petal Pink layer to card base
- Adhere the acetate overlay to the DSP with mini glue dots
- Stamp sentiment on Basic White Scrap and trim around sentiment
- Crop sentiment tag with Lovely Labels Pick A Punch
- Adhere tag to lower portion of DSP layer
- Wrap a strand of Petal Pink Organdy Ribbon over the sentiment and adhere to back of DSP layers
- Adhere the DSP layers to the card front with dimensionals or foam adhesive sheets

I hope you enjoyed today’s project. Don’t forget to check out the Sale-A-Bration Starter Kit Special going on now through February 28th! You can get 5 FREE packs of (yet to be released) DSP Packs with the purchase of the Starter Kit! Click the graphic for more details!


[sig]
My project supply list. Click products to shop online.






I love this beautiful card, Lori. I think using the acetate sheets really adds a nice pop. Enjoy your day!