I am having so much fun with this new Embossing Paste… it’s a little ridiculous! 🙂

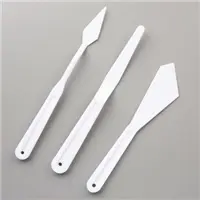
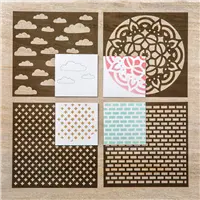
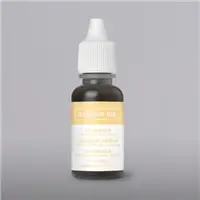
As far as the actual process of using the paste, it couldn’t be more simple. You just add a drop or two from a re-inker of your favorite color and mix it in. Stampin’ Up! offers a package of spatulas and also a set of masking sheets that does make the job even easier.
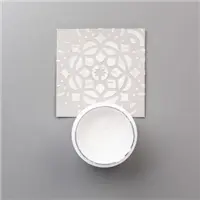
I used So Saffron ink and just a small amount of paste for this project. I used the brick pattern sheet from the Pattern Party Decorative Masks and layered the paste over the area I wanted to show up as a brick pattern. My tip with this would be to keep a little container of warm soapy water close by and let the masks and or spatulas/knives/paintbrushes sit for a minute before wiping away any excess paste. It does dry quickly, which is a good thing so you can proceed with the rest of your project pretty quickly.

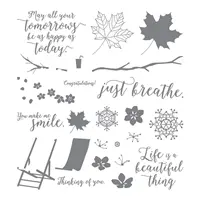
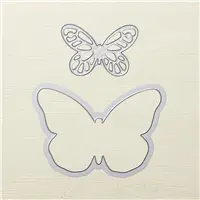
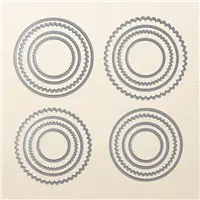
I used the Bold Butterfly Framelits Dies to cut out a butterfly and then I just covered it with the leftover paste I had from the brick pattern. I also – never wanting to waste a bit of it 🙂 , scraped whatever was left over and spread it on a piece of scrap paper. I later used the Layering Circle Framelits Dies and cut out a scalloped circle from the pasted scrap. It made for a pretty layering piece for my sentiment. The sentiment is from the Colorful Seasons stamp set, which I stamped in Soft Suede ink.

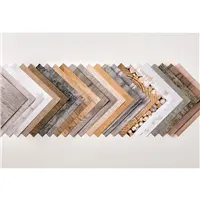
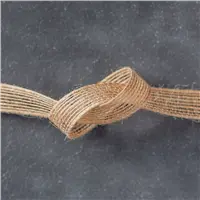
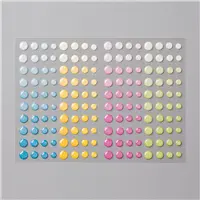
I used a piece from the Wood Textures DSP; using a full sheet for the first layer on the card base and just a corner piece to accentuate the brick pattern on the opposite side. This made for a pretty backdrop for my butterfly as the focal image. I used a piece of Burlap Ribbon to soften the diagonal line between the two patterns. And I added a small Glitter Enamel Dot to the butterfly and a second one to dot the ‘i’ in the sentiment!
This Embossing Paste is so much fun to work with ~ and so simple. Give it a try and let me know how you like it! 🙂
I hope you liked today’s card! All of the products I used for this project are available for purchase. I have the items listed below.
Don’t forget to redeem your July Bonus Rewards… you just have till the 31st and then they’re gone!
When you do make a purchase, please remember to use the Host Code -4XEVHJBA. Be sure to CLICK HERE for the details on my LollyPop Rewards Program! This is my way of thanking my returning customers
If you are not currently working with a demonstrator, I would love to have you as a customer. I offer excellent customer service and free items with qualifying orders. If you would like a copy of the new Annual 2017-2018 Catalog or the 2017 Holiday Catalog, just email me and I will be happy to pop one in the mail for you.
I love hearing from you! If you have a question or thoughts to share about today’s post, please feel free to leave a comment!
Thanks for stopping by today! I hope you get a chance to visit again soon!
Happy Stamping!
Be sure to check out this month’s incentive! Polka Dot Basics Textured Impressions Embossing Folder. Click HERE for all the details!
Lori
[sig]

